Actions

Activities that guide you through putting our learnings into practice


1 - Gestures and Names


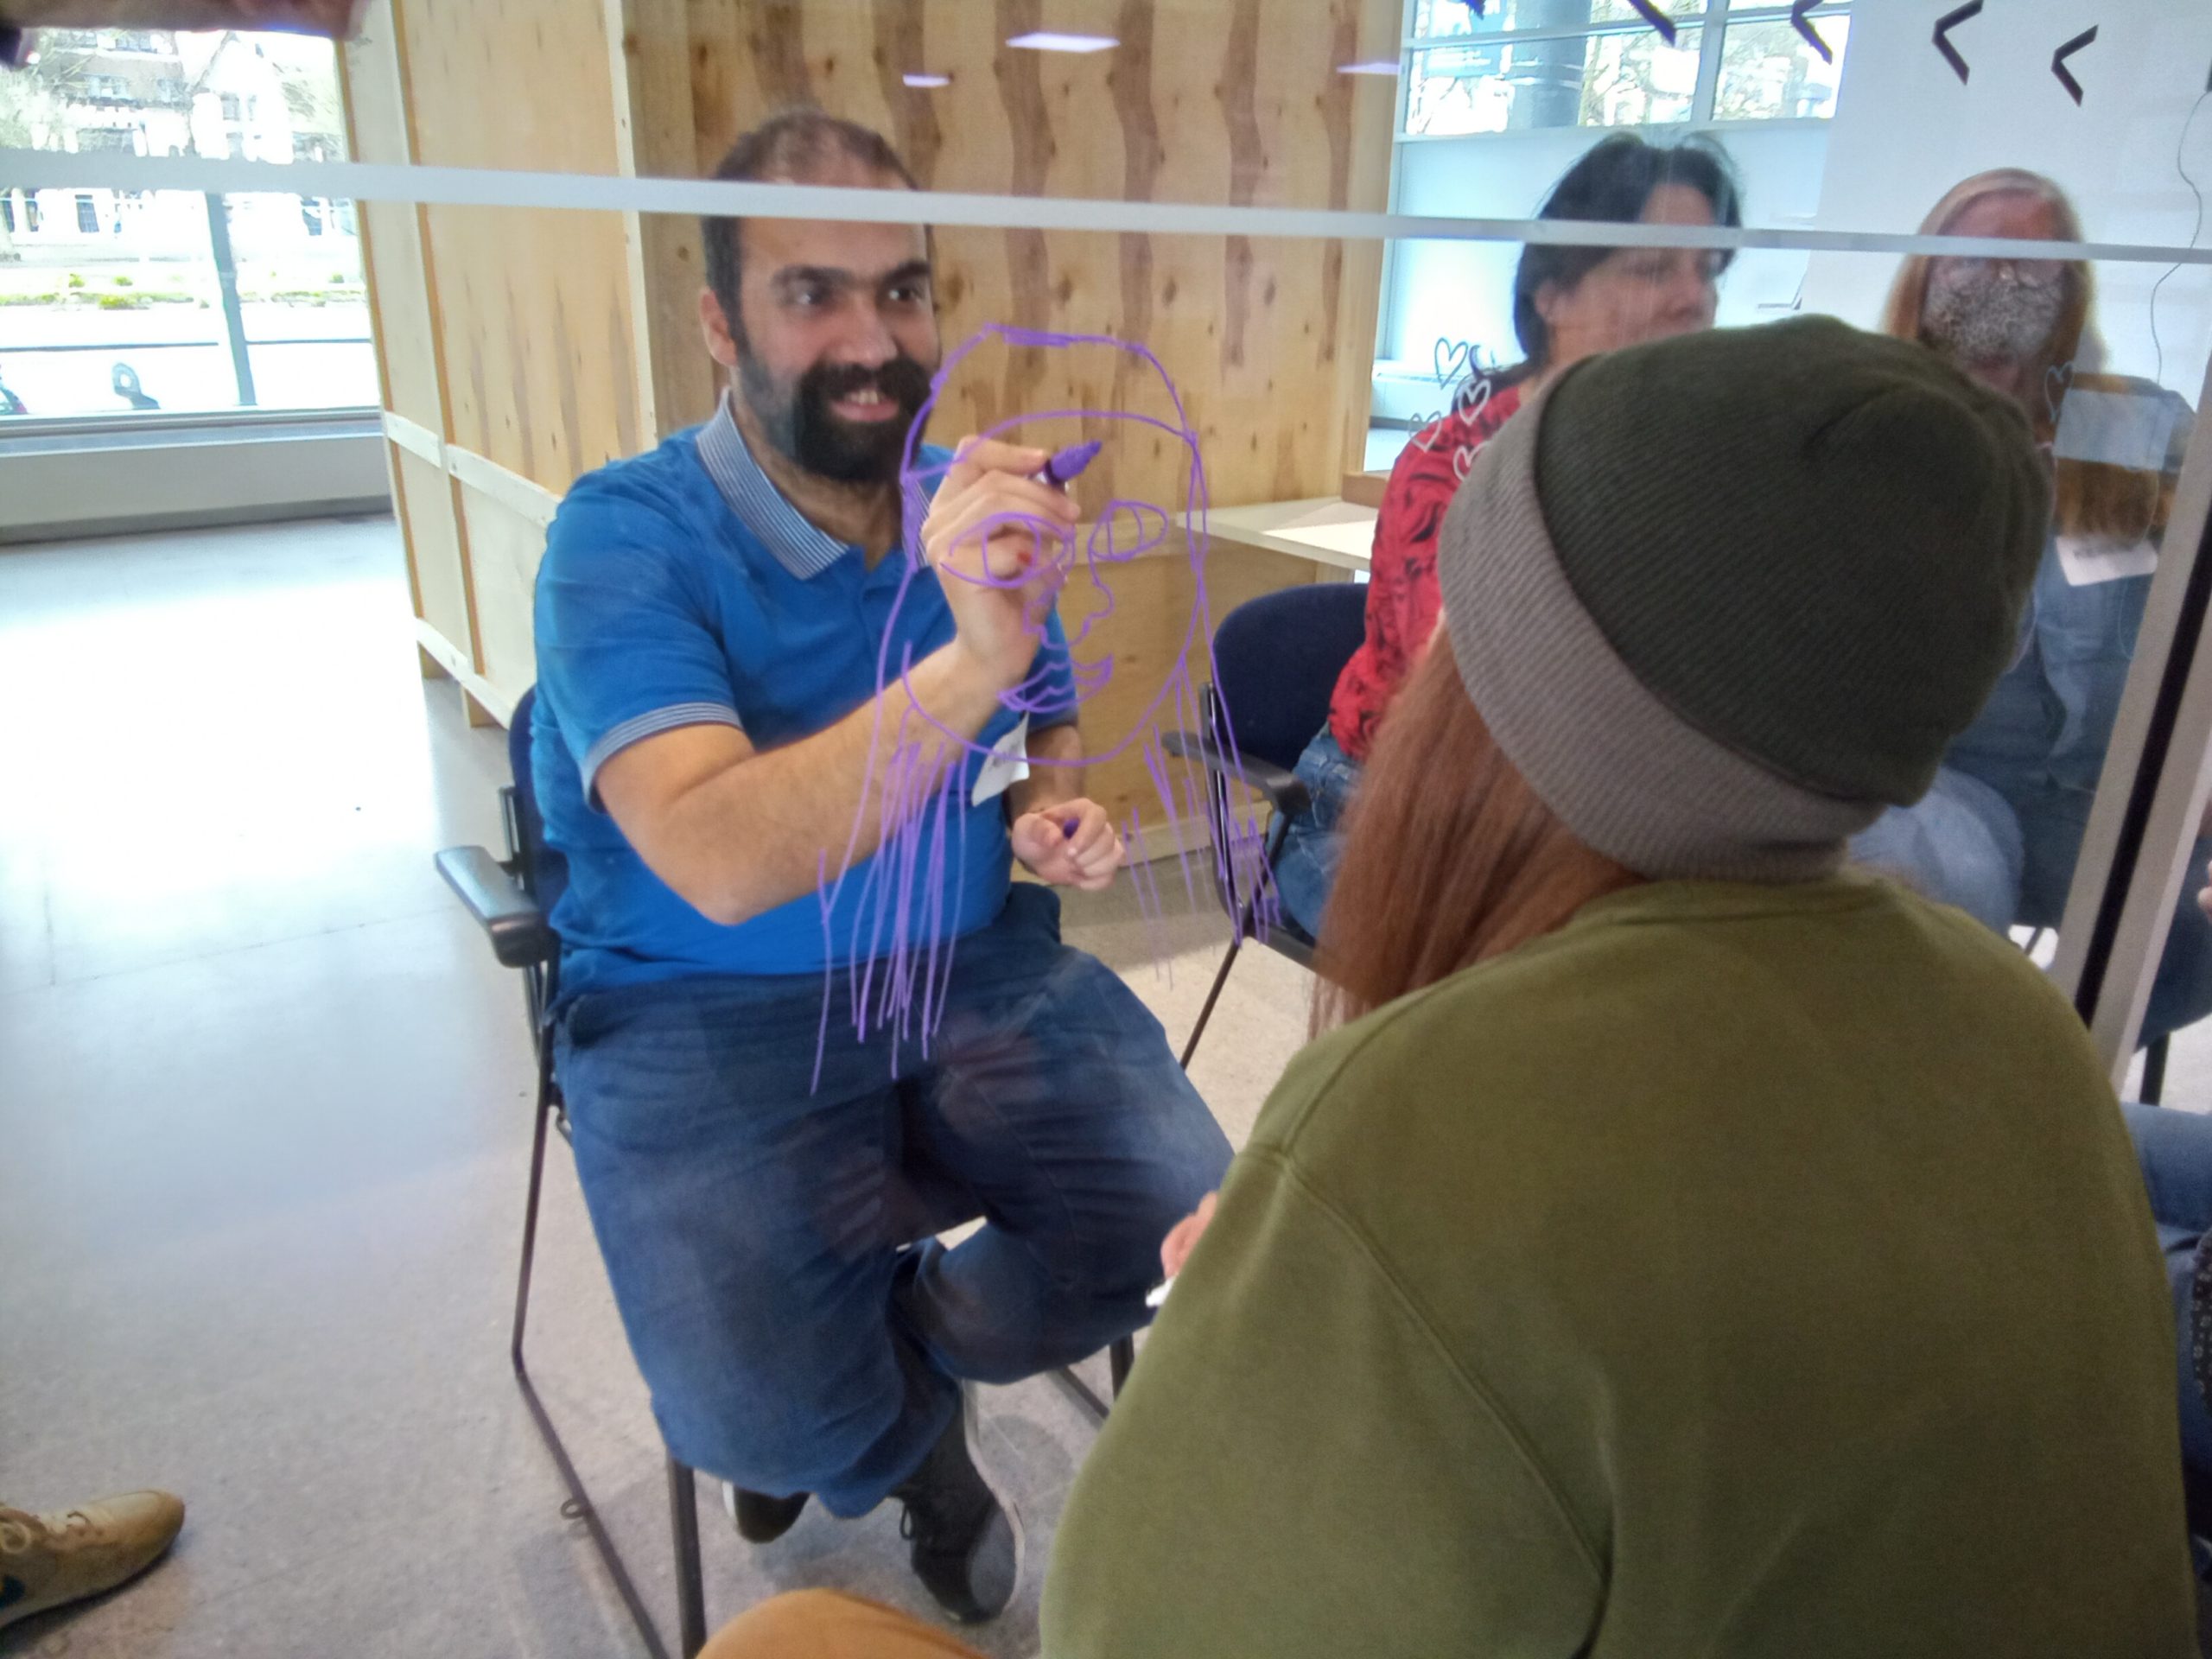
This activity can be used as an introduction at the start of the project and/or each session. It brings people together as a group, is playful and expressive and is a chance to find out or remember names. It can also be used as a closing activity and can include a gesture to say goodbye.


You will need…

> 2 or more people (usually a group)

What to do...

> Make a gesture with your hands and say your name

> Everyone repeats the gesture and your name - you may need to model this

> Invite someone to go next - this can be done with a simple hand gesture

> You can extend this activity by saying people’s names loudly and quietly and making big and small gestures.


2 - Acetate Portraits


This activity is a way of meeting each other and introducing artmaking. It produces some interesting drawings and is an accessible way into making portraiture.

You will need…
> 2 or more people
> 1 acetate sheet per person
> 1 piece of perspex or a window
> 1 black marker pen
> masking tape

What to do...
> Stick the acetate to the perspex with masking tape.
> If you do not have a piece of perspex or acetate you can draw straight onto a window (use a non-permanent marker).
> Decide who will draw first and who will be drawn
>> The person drawing should…
... check which side the acetate sheet is on
... hold the Perspex in front of their subject’s face
... use the black marker to draw the outline of their face and features
>> The person being drawn should…
... sit as still as they can!
> When a drawing is finished, swap places!

3 - Object Exploration Box


This activity can introduce a new theme or topic and can support people to come up with initial ideas and express their thoughts and opinions. It can aid conversation and help people to get to know each other.

You will need…
> 2 or more people
> 1 small box containing:
  >> small objects and images relating to your theme
  >> conversation prompts
  >> pens
  >> postcards or small pieces of card

What to do...
> Collect objects and images that relate to the theme or topic you would like to discuss
> When choosing objects think about what makes them interesting and engaging: What are their tactile and sensory qualities, could they prompt questions about what they are or how they are used, might they evoke memories or feelings?
> Include images of objects and things that do not fit in the box and other relevant print material.
> Provide materials for drawing and writing as well as having verbal conversations. Postcards can work well as they are a recognisable space for dialogue.
> Preparing conversation prompts in advance can help to keep the conversation going and they could be printed on cards in the box.
> Presenting the box with the lid on allows for a reveal and intrigue about what is inside. You could ask the other person to guess what is inside and maybe provide a small clue through the type of box or something on the outside of it.
> Take the objects out one by one and spend time exploring together.
> Discuss, draw, and/or write in response.

4 - Paper Sculptures


This activity is a means of working in pairs or groups to make decisions together based on a simple template that can be used to create a display or dress a set.


You will need…
> Coloured card (or a printed template on card)
> Pen
> Tape
> Scissors

What to do…
> Fold your piece of card in half widthways
> Open it out and cut along the fold line you made in the middle of the card to make 2 equal pieces
> Place the 2 pieces of card on top of each other
> Fold the 2 pieces of card in half lengthways
> To make the shape of your sculpture, draw a line on your piece of card starting towards the bottom corner furthest from the fold, and continuing to the top corner nearest the fold. Make sure the shape is wider at the bottom than the top so it can stand up. (If you stand a mirror along the fold you will be able to see the shape that will be created when you cut it out.)
> Cut along the line and open out the two shapes with folds down the middle. (You can discard the rest.)
> Cut a slit in one piece from top to halfway
> Cut a slit in the second piece from bottom to halfway
> Slot the 2 pieces together along the slits you made
> Tape along the seams to make it strong if needed
> Enjoy decorating and adding extra flourishes!


Download the printable templates here

'About' button with drawing of an 'i' in a speech bubble